Asus ROG Ally: TV & Monitor Connection Guide
Author : Christian
Mar 13,2025
The ROG Ally stormed onto the gaming scene in 2023, quickly establishing itself as a compelling Steam Deck alternative. Its Windows operating system grants access to an even wider library of games. The 2023 ROG Ally X iteration not only boasts upgraded internals but also a significantly improved, more comfortable design thanks to enhanced cooling.
While the Ally's portability is a major draw, the ability to enjoy games on a larger screen is a welcome bonus. Both ROG Ally models offer seamless external display connectivity, allowing you to transition effortlessly from handheld to big-screen gaming.
Connecting Your ROG Ally to a TV or Monitor with an Adapter
Connecting your ROG Ally to your TV or monitor is straightforward using an adapter. This method is compact and convenient, offering several options to suit your preferences.
What You'll Need
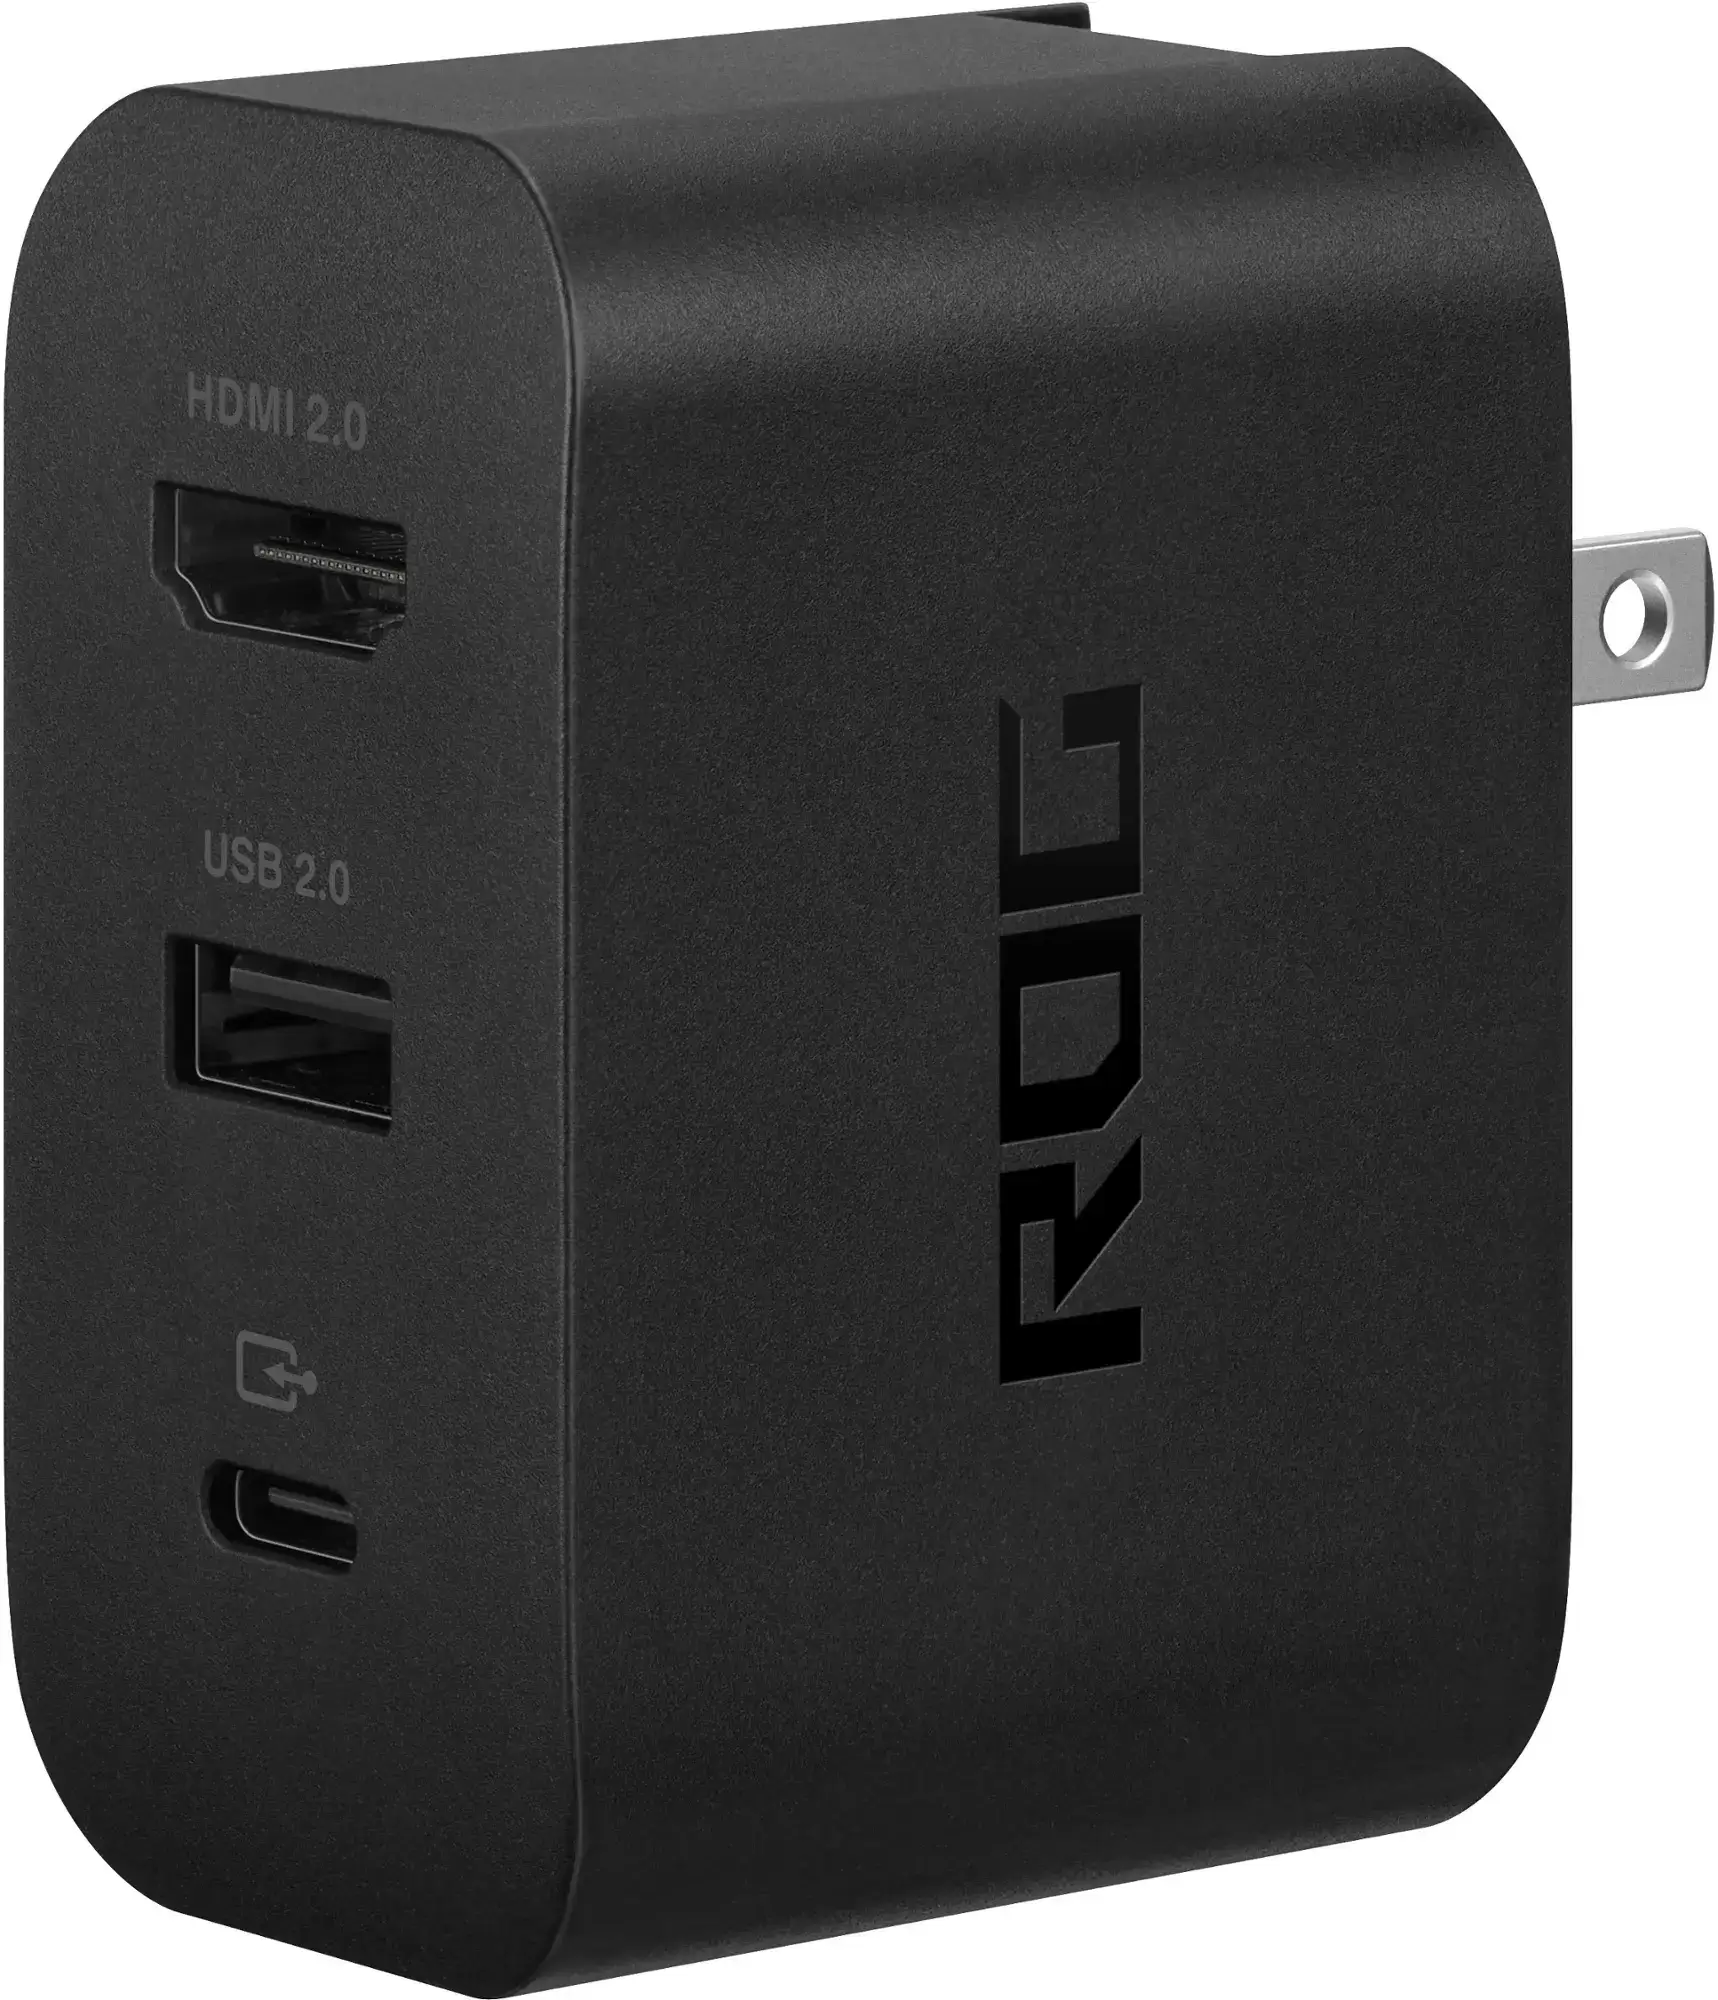
ASUS ROG 65W Charger Dock
ASUS simplifies the process with its official ROG Gaming Charger Dock. This doubles as a charger, requiring only a USB-C and HDMI cable. It also includes a USB-A port for connecting peripherals like a mouse and keyboard.
Alternatively, a third-party USB-C to HDMI adapter, plugged directly into the Ally's USB-C port, works equally well. Connect an HDMI cable from the adapter to your TV or monitor. For a streamlined setup, consider a USB-C to HDMI cable—a single cable solution. Some adapters even feature a passthrough USB-C port for charging; if yours does, you'll need an additional USB-C cable and power adapter.
Step-by-Step Instructions
- Connect a USB-C to HDMI adapter (or cable) to the ROG Ally's top USB-C port. If using the ROG Gaming Charger Dock, connect a USB-C cable from the Ally to the dock's USB-C port.
- Connect an HDMI cable from the adapter (or dock) to your TV or monitor's HDMI port. If using a direct USB-C to HDMI cable, connect the HDMI end directly to your TV or monitor.
- (Optional) If your adapter has a passthrough USB-C port, connect your power adapter for charging.
- Power on the ROG Ally; it should automatically detect and output the video signal.
- Switch your TV or monitor's input to the correct HDMI input.
Connecting Your ROG Ally to a TV or Monitor with a Docking Station
For a more console-like experience, a docking station is a great option. While there isn't an official ROG Ally dock (excluding the ROG Gaming Charger Dock), numerous third-party options are available, offering a convenient stand and charging capabilities.
What You'll Need
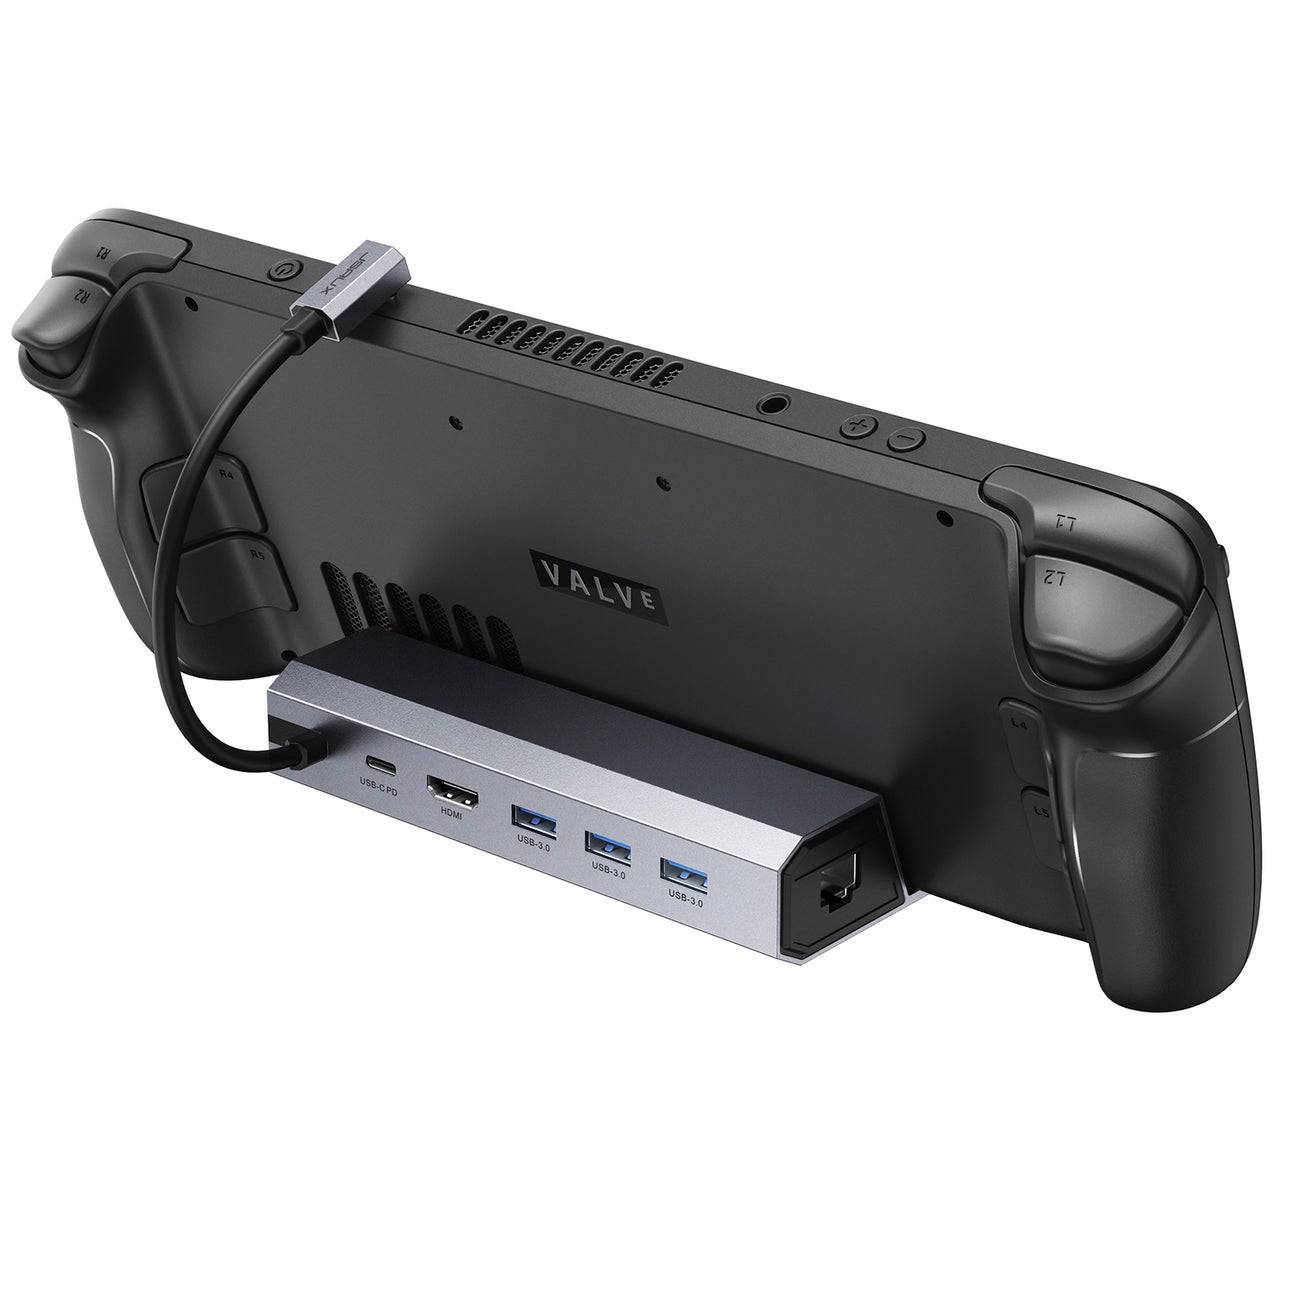
JSAUX Docking Station HB0603
Basic docks typically include an HDMI port and a USB-C passthrough charging port. More advanced docks offer additional features such as extra USB ports, Ethernet ports, SD card slots, and even DisplayPort for multiple monitors.
Step-by-Step Instructions
- Place your ROG Ally in the dock.
- Connect the USB-C power cord to the Ally's USB-C port.
- Connect your power adapter to the dock's USB-C charging port.
- Connect an HDMI cable from the dock to your TV or monitor.
- Power on the ROG Ally; it should automatically detect and output the video signal.
- Switch your TV or monitor's input to the correct HDMI input.
You'll Also Need a Controller
While mouse and keyboard support exists, a wireless controller provides a more comfortable and intuitive big-screen gaming experience. The ROG Ally is compatible with any Bluetooth-enabled controller.
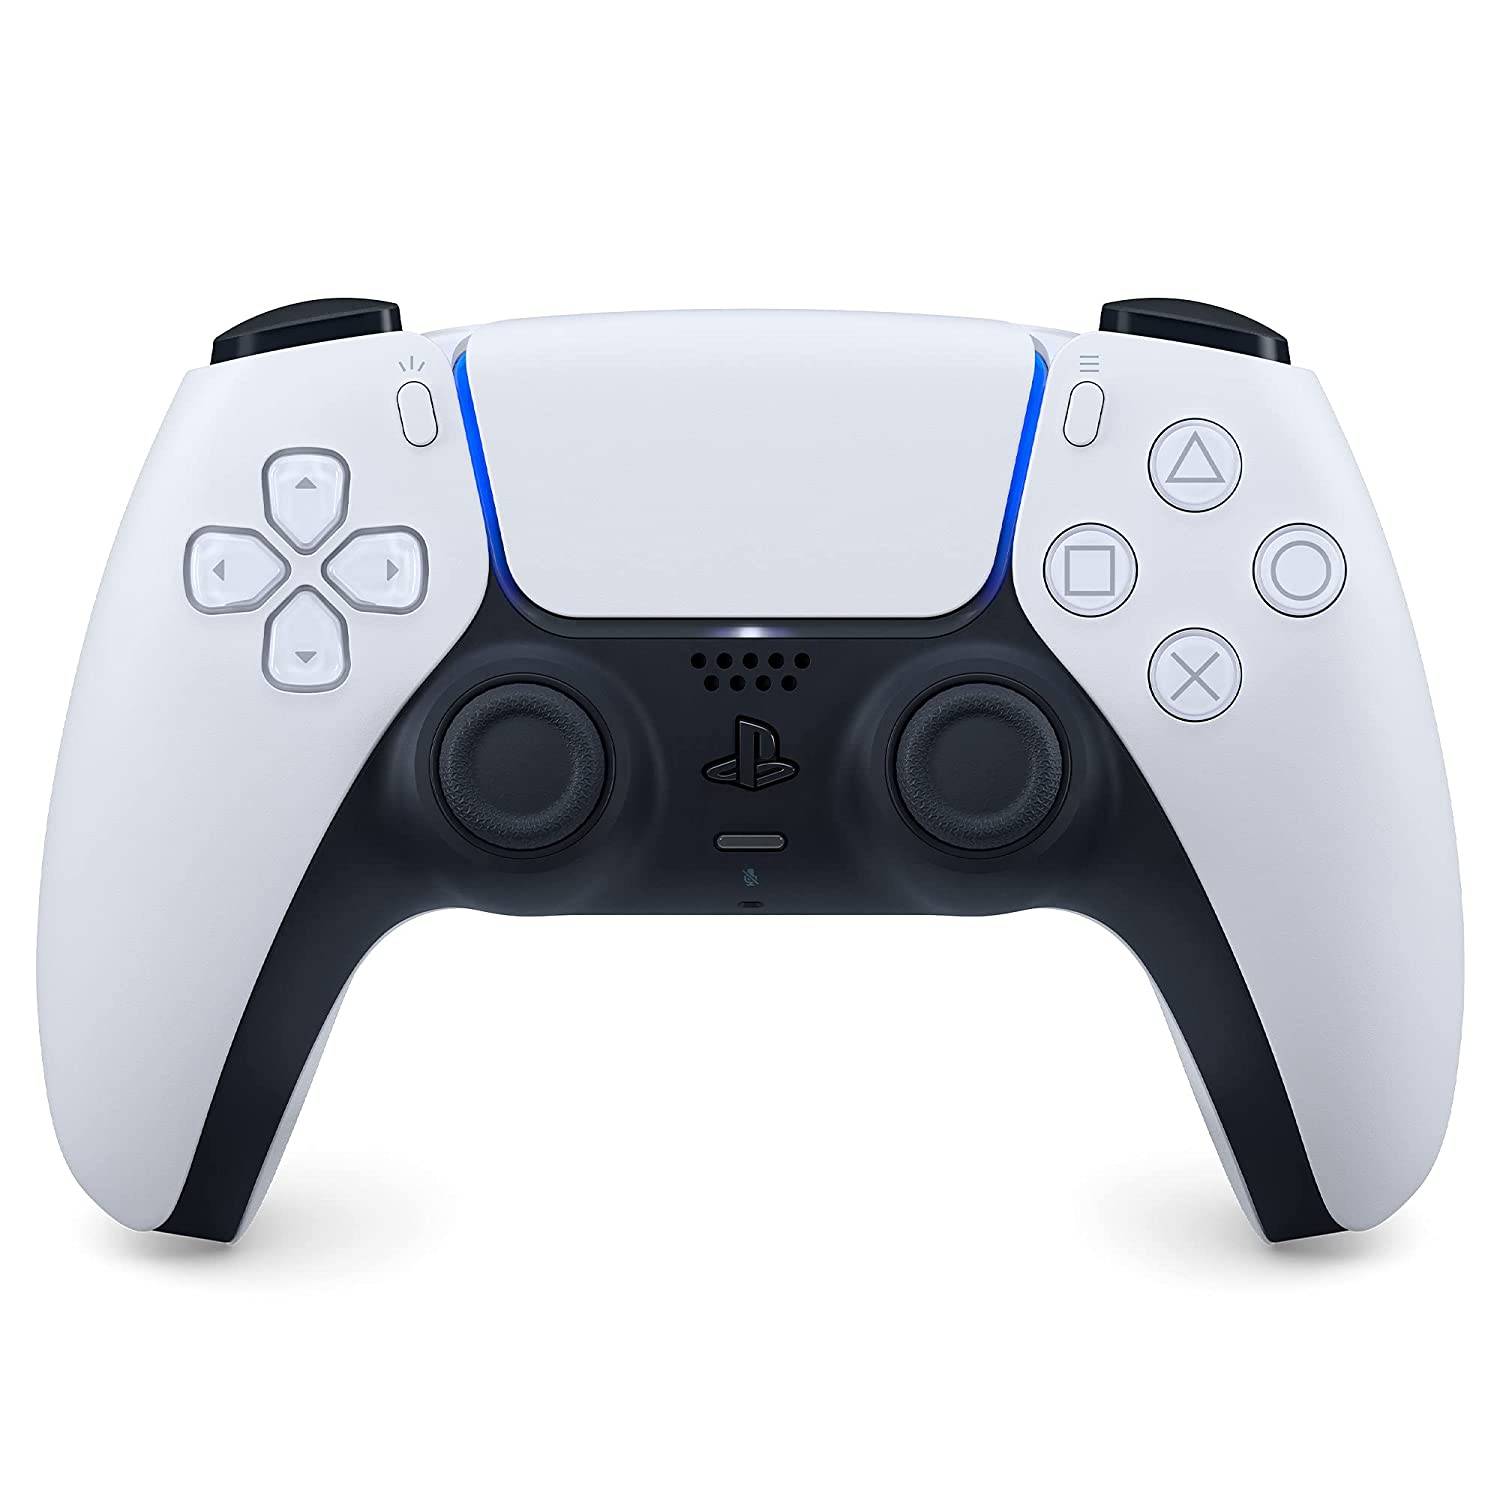
Sony DualSense
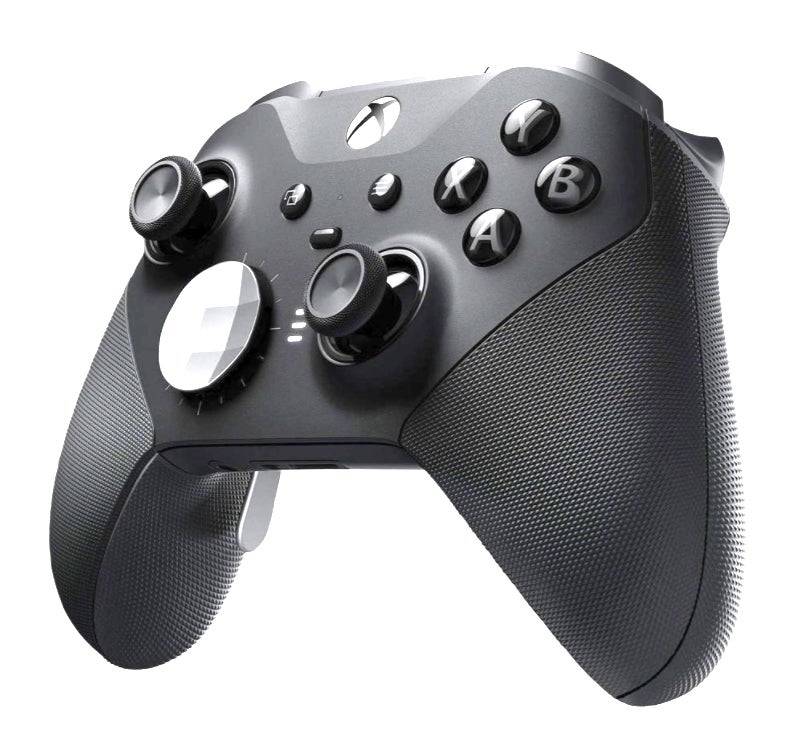
Xbox Elite Series 2 Controller
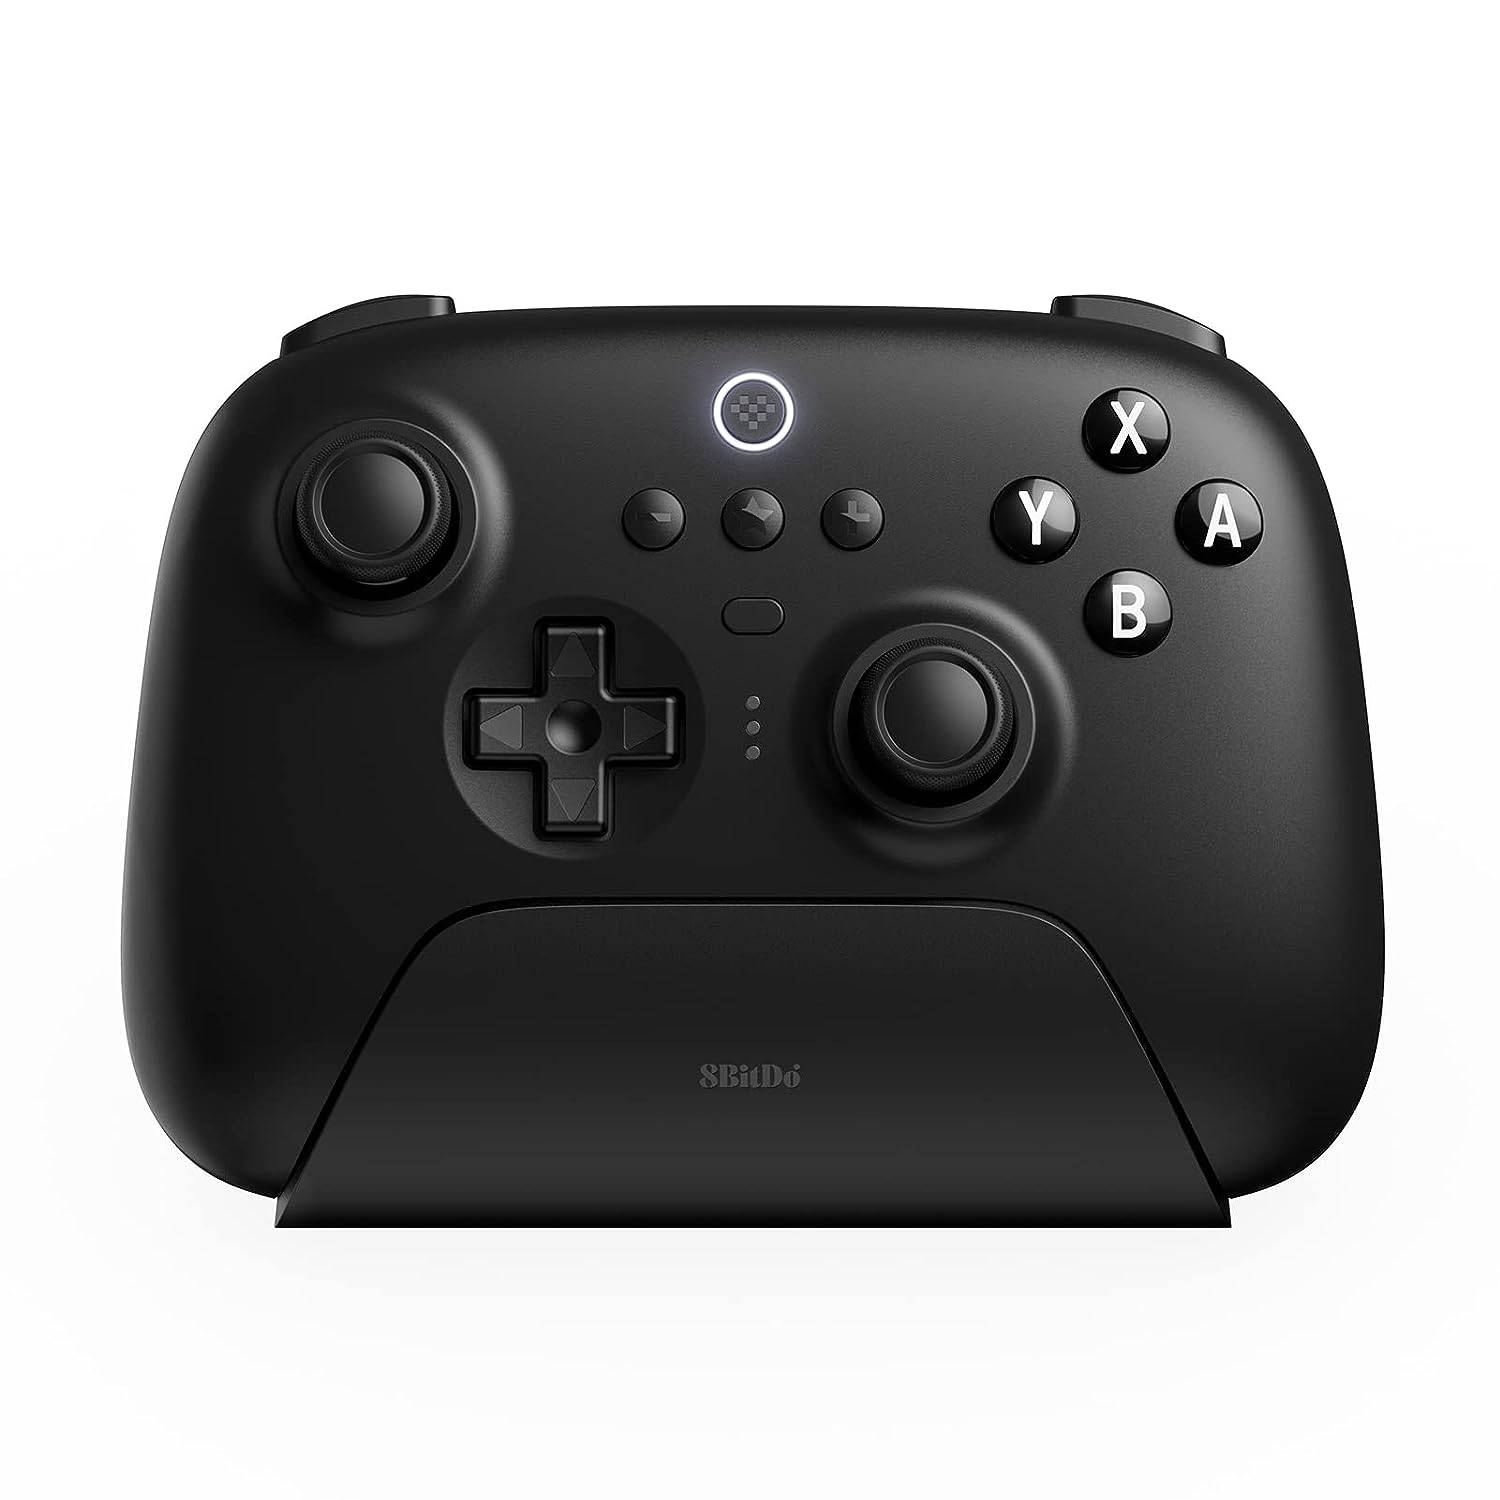
8BitDo Ultimate Controller
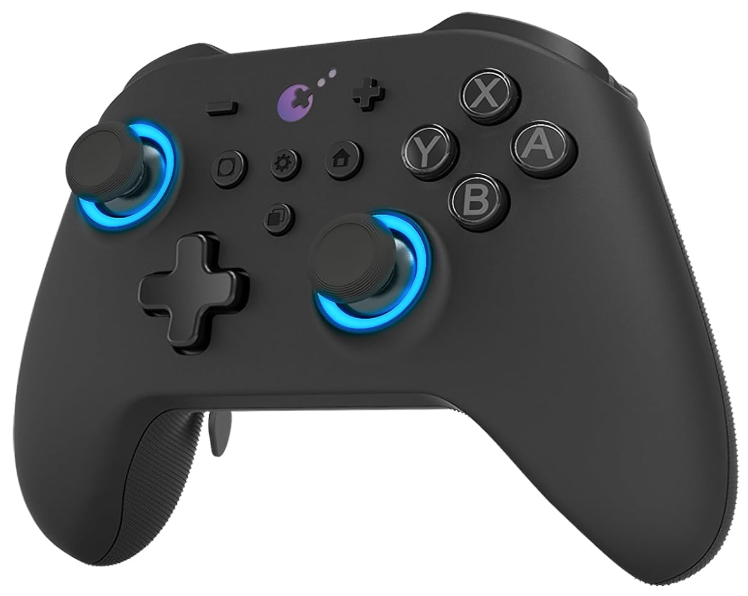
GuliKit KingKong 3 Max Controller

PowerA Wireless GameCube Style Controller
Consider options like the DualSense, Xbox Wireless Controller, or Nintendo Switch Pro Controller, as well as various third-party controllers. 2.4GHz wireless controllers often offer lower latency and better range than Bluetooth, while wired USB controllers are also a viable option.
Latest Articles

2025 Roblox Forsaken Characters Tier List
Forsaken is a Roblox game that captures the thrilling killer-versus-survivor gameplay seen in titles like Dead by Daylight, while adding its own unique spin. It delivers an exhilarating and highly replayable experience by refining this asymmetric sur
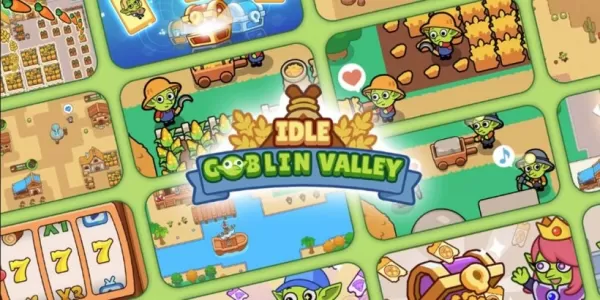
Goblin Valley: Cozy Home Game Opens Pre-Registration
Build and expand your thriving goblin farm villageInteract with quirky goblins, each with unique personalitiesMonitor and fulfill your goblin residents' needsUnimob Global has recently launched pre-registrations for Idle Goblin Valley: Chill Farm, of

Heartopia is kicking off its first closed beta test next month
The initial CBT runs from November 4th through the 18thEngage in hobbies such as fishing, birdwatching, and cookingAdopt pets, customize your home interior, and design unique outfitsHeartopia, XD Games’ highly anticipated life simulation title announ

Summoners War set to host collaboration with the iconic fantasy book series The Lord of the Rings
Summoners War: Sky Arena has teamed up with none other than The Lord of the Rings.
Set to launch later this month, the collaboration brings iconic characters from the Fellowship and beyond into the game.
The Lord of the Rings needs no introduction—it

Another Eden expands its Chrono Cross collaboration content with Glenn and new story
Another Eden is introducing fresh content to its existing Chrono Cross collaboration materialThe release includes a beloved character named Glenn from The Cursed DragoonA new character and upcoming events are also being added to honor Japan Cat DayAl

The $13 FrSara Portable Neck Fan Is an Inexpensive Solution to Beating the Summer Heat
Summer has arrived, and neck fans are seeing a surge in popularity. These portable fans offer a simple, effective, and affordable way to stay cool and comfortable. Amazon is currently offering 50% off the FrSara Rechargeable Portable Neck Fan with th
Latest Games

Scube
Educational丨55.44MB


Lenguaje 6 años
Educational丨33.7 MB

Squla
Educational丨60.6 MB

XXXTentacion Tiles Rush Hop
Music丨71.6 MB

Mis Primeras Notas Musicales
Music丨16.9 MB

Rhythm Patrol
Music丨151.7 MB

Piano Star
Music丨88.3 MB

XTrem Racing
Racing丨140.1 MB


Top News
MORE +

01
01-07
BREAKING: Flight Simulator 2024 Login Woes Ground Players
Flight Simulator 2024 Launch Plagued by Technical Difficulties
The highly anticipated launch of Flight Simulator 2024 has been significantly hampered by widespread technical problems, leaving many players grounded before they could even take to the virtual skies. This article details the reported d
02
01-06
CDPR acknowledged weak gameplay in The Witcher 3
The Witcher 3, while critically acclaimed, wasn't without its flaws. Many fans felt the combat system fell short.
In a recent interview, Witcher 4's game director, Sebastian Kalemba, acknowledged weaknesses in the previous game's gameplay, specifically highlighting the need for significant improvem
03
11-17
Hogwarts Legacy 2 is "One of the Biggest Priorities" for WB Games
Following the successful launch of Quidditch Champions this week, Warner Bros. Discovery has confirmed its plans for a sequel to last year's Harry Potter-based action RPG hit Hogwarts Legacy—2023's best-selling game.Hogwarts Legacy Sequel Plans Confirmed by Warner Bros. DiscoveryExpected in
04
11-16
Airplane Chefs Brings The Ultimate Snack, Pringles, On Board!
Buckle up for some snacks as Nordcurrent has just dropped an exciting event for their cooking game. It’s the most unexpected collab of Airplane Chefs and Pringles. If you’ve been enjoying your virtual life as a flight attendant, things are about to get a lot tastier.The game developer behind p
05
11-16
Play Together to collaborate with Sanrio and introduce new My Melody and Kuromi content
Play Together is bringing back its Sanrio collab with the appearance of My Melody and KuromiYou can collect coins by completing their themed missions that can then be used to draw exclusive itemsAs a bonus there's also new summer-themed content and events, including a major bug huntPlay Together, th
Topics
More +