Pocket Camp Snacks: Essential Harvest Guide for Animal Crossing Fans
Author : Joshua
Jan 26,2025
Mastering Google Chrome's Web Page Translation: A Comprehensive Guide
This guide provides a step-by-step walkthrough on efficiently translating web pages using Google Chrome, covering whole-page translation, selected text translation, and personalized translation settings. Follow these instructions to seamlessly navigate multilingual websites.
Step 1: Accessing the Chrome Menu
Locate and click the Chrome menu icon in the upper right-hand corner of your browser. This is typically represented by three vertical dots or three horizontal lines.

Step 2: Navigating to Settings
In the dropdown menu, select the "Settings" option. This will open your browser's settings page.

Step 3: Locating Translation Settings
At the top of the settings page, you'll find a search bar. Enter "Translate" or "Language" to quickly find the relevant settings.

Step 4: Accessing Language Settings
Once the search results appear, locate and click the "Languages" or "Translation" option.
Step 5: Managing Languages
In the language settings, you'll see a list of supported languages. Use the dropdown menu to add or manage languages.

Step 6: Enabling Automatic Translation
Crucially, ensure the option "Offer to translate pages that aren't in a language you read" is enabled. This will prompt Chrome to automatically offer translation for pages in languages other than your default language.
By following these steps, you can leverage Google Chrome's powerful translation capabilities for a smoother, more accessible online experience.
Latest Articles
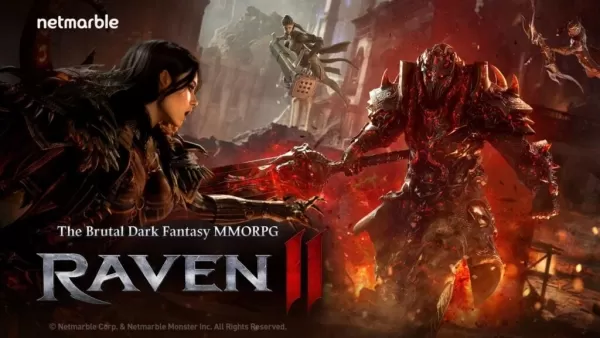
Raven2, Dark Fantasy MMORPG, Launches on Android
Netmarble has launched Raven2, its gritty dark fantasy MMORPG, on Android. The global release covers over 150 countries, including North America, Southeast Asia & Oceania, and Europe. The game also offers support for 16 languages.A wild adventure awa
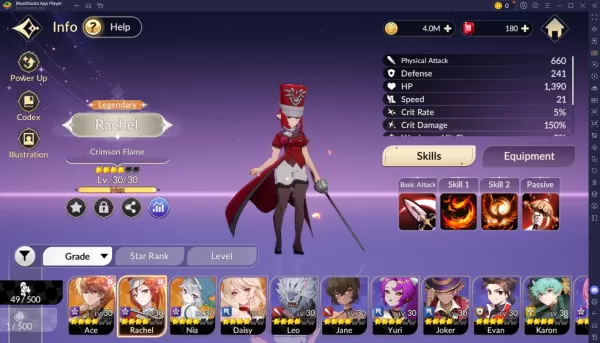
Seven Knights: Boost Combat Power with Hero Training
Seven Knights Re:BIRTH, the direct sequel to the beloved turn-based RPG Seven Knights, has just launched worldwide and is already winning praise for its vibrant animations, strategic combat, and deep resource-gathering systems. At its heart, the game
Walmart's GeForce Week Sale Sees the First Ever Discounts on Nvidia RTX 50 Series Graphics Cards
Walmart has launched an exclusive "GeForce Week" sale, marking the first time ever that select GeForce RTX 50 series graphics cards are priced below MSRP. For months, these new Nvidia GPUs were sold at steep premiums due to high demand, limited stock
Konami Livestream: Metal Gear Solid Delta, Silent Hill f Details Revealed This Week
Play I'm particularly hopeful that Konami’s mention of "and more" will include No Code’s Silent Hill Townfall. It’s been years since we’ve received meaningful updates, and I’m eager to learn more. I’m also still waiting for news on future remakes or
Black Ops 7 Rating Hints at Premium Content Continuation
Call of Duty fans think they've found evidence suggesting that Call of Duty: Black Ops 7 will let players transfer their cosmetic skins from Black Ops 6.The ESRB rating has confirmed Black Ops 7 will be rated M for Mature 17+ and release on PC, PS5,

My Little Pomodoro Boosts Focus, Hits Android
Most productivity timers demand your focus. Devfloor's new release, My Little Pomodoro: Focus, actually gives something in return. This charming Android app transforms concentration into a rewarding experience rather than a tedious obligation.Underst
Latest Games

Snow Cone Maker
Educational丨24.17MB


Baby Masha's Winter Playground
Casual丨180.2 MB

Tear Them All
Action丨132.26MB


Taxi Driver 2
Racing丨37.3MB

Cuck Brother
Casual丨449.30M

Rabbit Hunting 3D
Adventure丨30.29MB


Top News
MORE +

01
01-07
BREAKING: Flight Simulator 2024 Login Woes Ground Players
Flight Simulator 2024 Launch Plagued by Technical Difficulties
The highly anticipated launch of Flight Simulator 2024 has been significantly hampered by widespread technical problems, leaving many players grounded before they could even take to the virtual skies. This article details the reported d
02
01-06
CDPR acknowledged weak gameplay in The Witcher 3
The Witcher 3, while critically acclaimed, wasn't without its flaws. Many fans felt the combat system fell short.
In a recent interview, Witcher 4's game director, Sebastian Kalemba, acknowledged weaknesses in the previous game's gameplay, specifically highlighting the need for significant improvem
03
11-17
Hogwarts Legacy 2 is "One of the Biggest Priorities" for WB Games
Following the successful launch of Quidditch Champions this week, Warner Bros. Discovery has confirmed its plans for a sequel to last year's Harry Potter-based action RPG hit Hogwarts Legacy—2023's best-selling game.Hogwarts Legacy Sequel Plans Confirmed by Warner Bros. DiscoveryExpected in
04
11-16
Airplane Chefs Brings The Ultimate Snack, Pringles, On Board!
Buckle up for some snacks as Nordcurrent has just dropped an exciting event for their cooking game. It’s the most unexpected collab of Airplane Chefs and Pringles. If you’ve been enjoying your virtual life as a flight attendant, things are about to get a lot tastier.The game developer behind p
05
11-16
Play Together to collaborate with Sanrio and introduce new My Melody and Kuromi content
Play Together is bringing back its Sanrio collab with the appearance of My Melody and KuromiYou can collect coins by completing their themed missions that can then be used to draw exclusive itemsAs a bonus there's also new summer-themed content and events, including a major bug huntPlay Together, th
Topics
More +